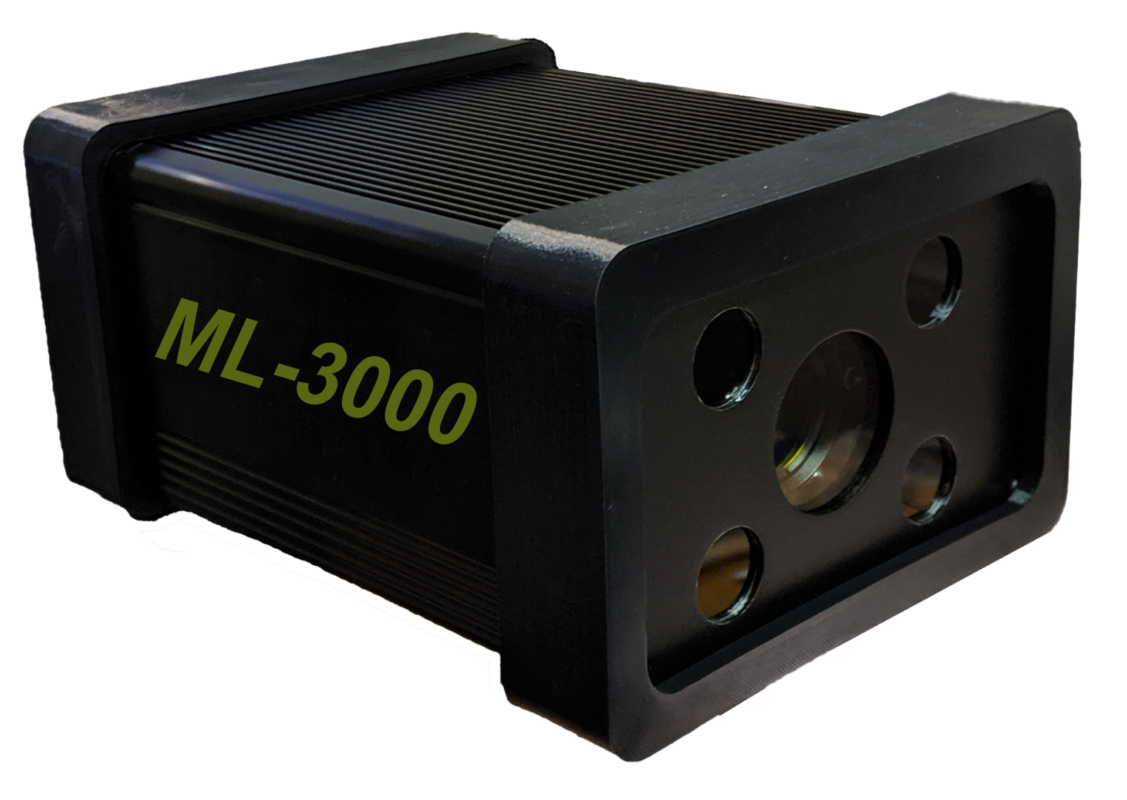
ML-3000 daylight fluorescent scanner
The ML-3000 daylight fluorescent scanner provides fast and accurate detection of fluorescence signals in environments with strong background light.
This revolutionary inspection system for the aerospace, automotive and associated industrial sectors, provides 100% QA , typically cutting inspection costs by 90%, with a payback period from as little as few months.
Key Features
The ML-3000™ Mixed Light system is totally unique and can detect and extract fluorescence signals with intensity levels less than 20-lux, from background daylight of up to 100,000-lux!
This disruptive technology introduces a step-change in reducing processing times and improves standards and consistency in quality audits and inspections for both MPI (Magnetic-Particle Inspection) and (FPI) Fluorescent Penetrant Inspection techniques.
The ML-3000™ is equally applicable to the inspection of forgings, castings, extrusions etc. which are too big or too heavy to be moved into a darkened inspection room. The system’s software automatically all defects and keeps permanent record of results, for 100% quality audit and compliance purposes.
“Mixed Light” inspection is the term given to an advanced technique developed by Inspection Tech, which uniquely enables the detection of the very small levels of light emitted from fluorescent penetrant dyes against a background light. This completely removes the need for a separate darkroom or inspection cell and reduces manpower and floorspace. The removal of these production bottlenecks significantly increases throughput rates at inline inspection points and penetrant inspection can be performed at any stage of manufacture, irrespective of background light conditions.
The ML-3000™ system also augments its unique daylight inspection capability with our world-beating software, it can replace a human inspector and automatically identify regions of interest for the operator and provides false-colour overlays on top of visual images of the inspected part.
Why Size Matters
Accuracy and consistency of measurement are the corner-stone of repeatable and reliable QA.
Below is an example of the system’s performance against calibrated standard to an accuracy of just 50 microns
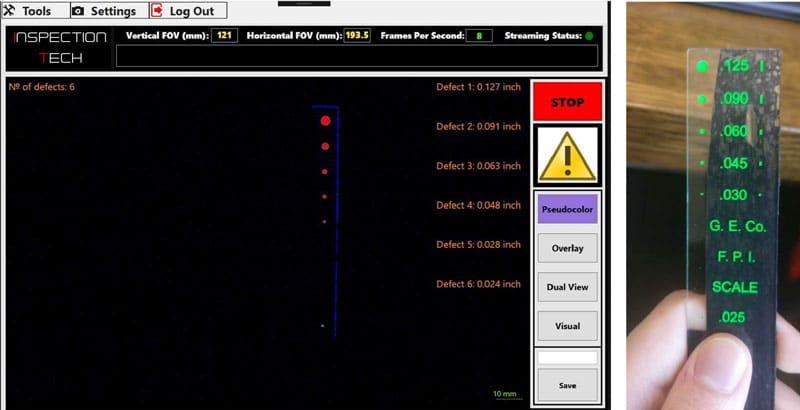
Once calibrated against a reference, the ML-3000™ system is accurate to just a TENS OF microns from more than 40cm stand-off distance
High-tolerance castings and forgings are often critical components which cannot afford to have manufacturing defects go unnoticed. This 100% QA inspection requirement becomes more pressing every year as components are increasingly expected to withstand more demanding deployment conditions, pressures, stresses and extremes of temperature
Size filtering for selective defect detection
In some cases, it is not practical or desirable for every single detection to be reported for example; features may be too small to be of consequence.
In these circumstances, the system can be instructed to only detect and report defects and other features which fall within a user defined range size range.
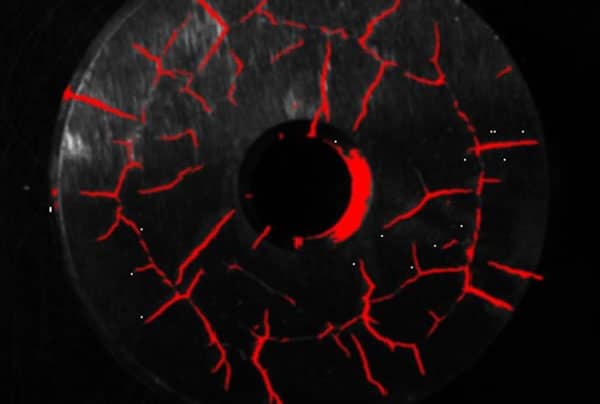
Auto-Setting
Shows ALL cracks in red
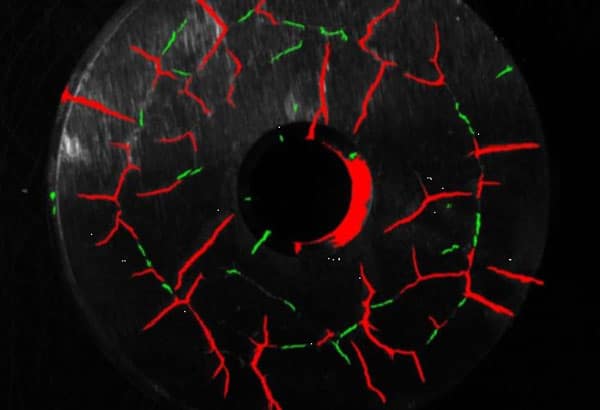
Filtered
Automatically shows large (red), and small (green) cracks
MPI and PDI under bright background light
Certified MPI test piece under high wattage halogen lamps, the illumination at the test piece surface is 20,000 lux of background light.
In this simulated daylight condition the fluorescent signal is totally obliterated to the human eye. Existing equipment requires the tests & calibrations to be performed in a dark environment.
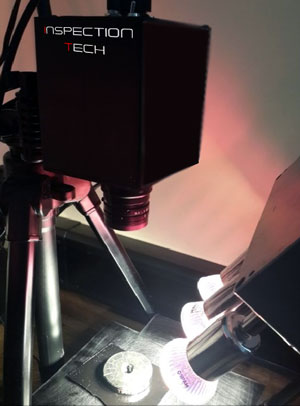
Below: simultaneous real-time view presented to the user by ml-3000™
Background daylight totally eliminated.
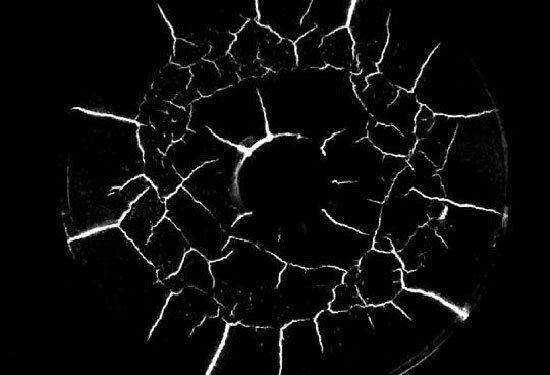
Our Software offers multiple views
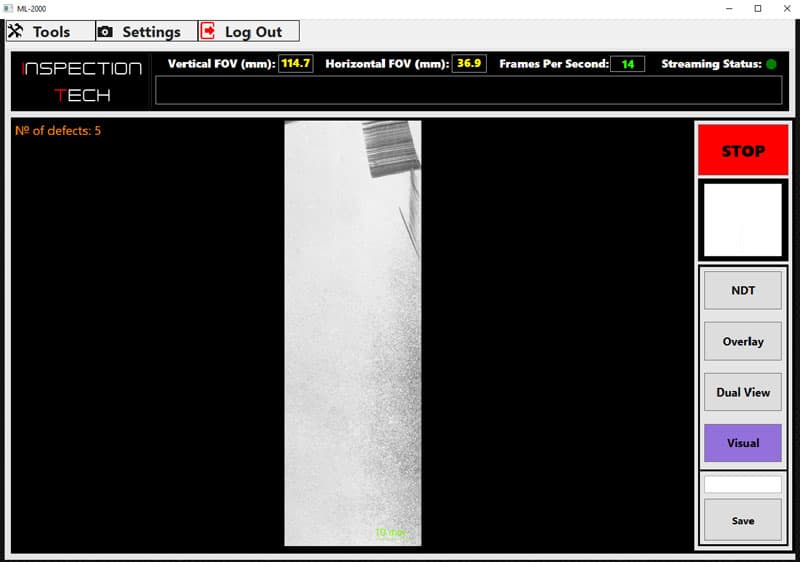
Visual Mode
Regular visual image
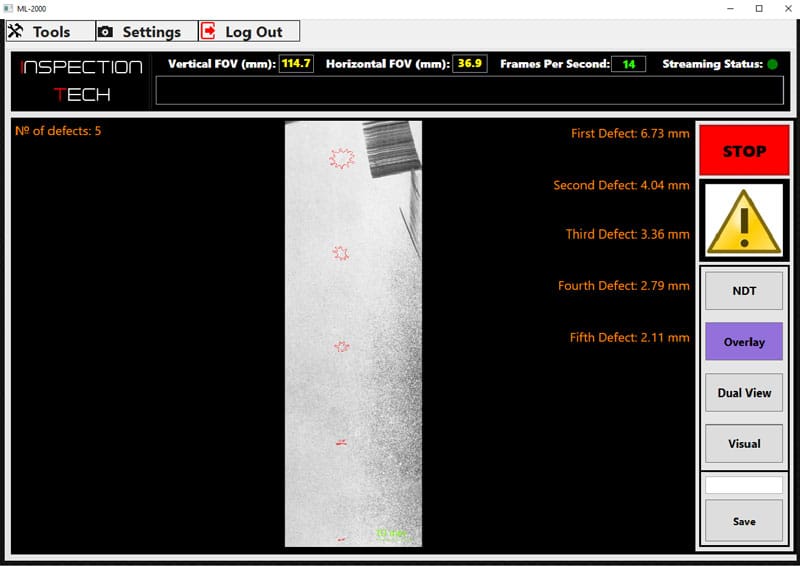
Overlay Mode
Image with real-time overlain fluorescent defects and defect information
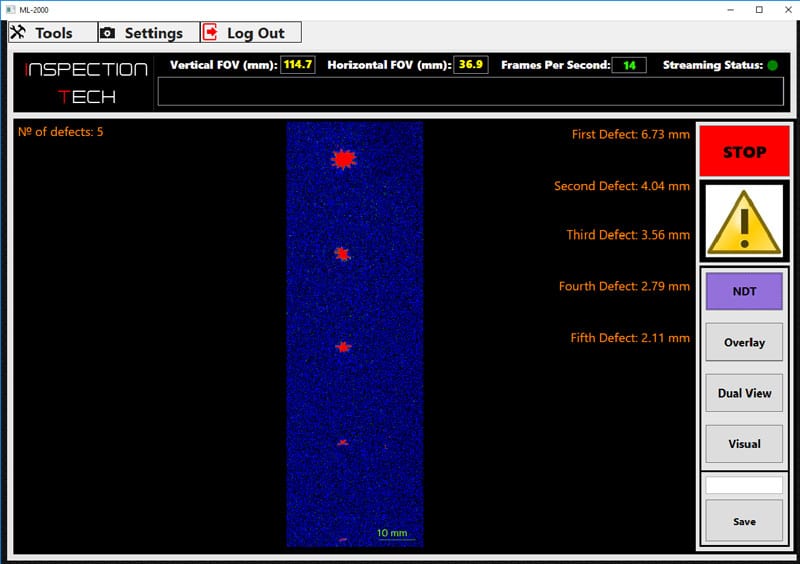
NDT Mode
All background light removed and then sizing information applied
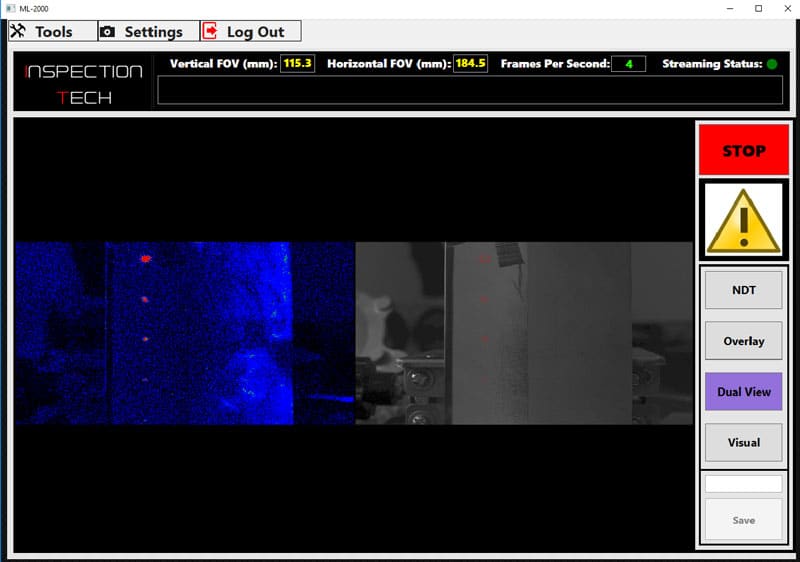
Dual Mode
2 images on the same screen: NDT and Overlay
